1. Paint Sampling.
Samples were taken from several areas of the room especially from areas of natural colour delineation- above and below dado,
different sections of cornice and ceiling . These samples were edge bedded in clear resin, rubbed to expose layers and examined
under 25x digital microscope.
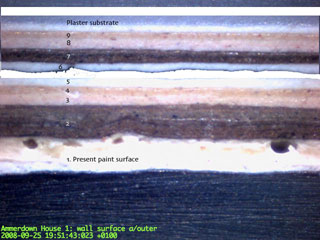
Fig 1: Paint stratigraphy (not colour corrected)
2. Removal of loose paint.
The major damage to paint and plaster had been caused by a water leak from the floor above.This meant that in many areas paint
was only loosely adhered. Removal was facilitated by scalpel and small high pressure steam gun. No chemical paint strippers were
used.
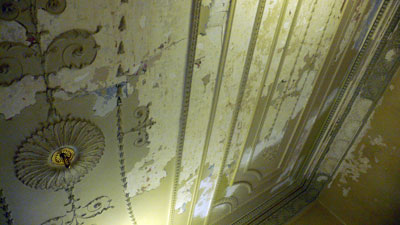
Fig 2: Paint removal
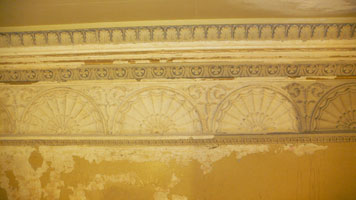
Fig 3. Paint removal
3. Re-adherance of loose plaster.
After loose flat plaster was refixed using a mixture of lime putty and PV(OH) lacunae were filled with lime putty/casting plaster/rabbit
skin glue size and the whole was rubbed down. An undercoat of white flat emulsion was then painted over, then refilled, and rubbed
down again.
4. Remodeling of lost hand-modeled work.
Some small leaves were remodeled.
5. Moulding and casting repeat work.
Lost repetitive features were moulded in thixotropic Silicon rubber. New elements were cast in a lime
putty/gypsum mix.
6. Redecoration.
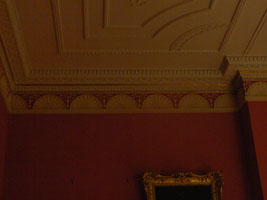
Fig 4. Finished cornice
Subsequent to repair the walls were papered with heavy duty lining paper. All bar woodwork was decorated using flat emulsions to the client's
specification. The detail on the frieze was picked out with a OO brush where necessary and the mid cornice ovolo mouldings were regilded
using oil size and transfer leaf to match the existing. Woodwork was painted using oil eggshell.
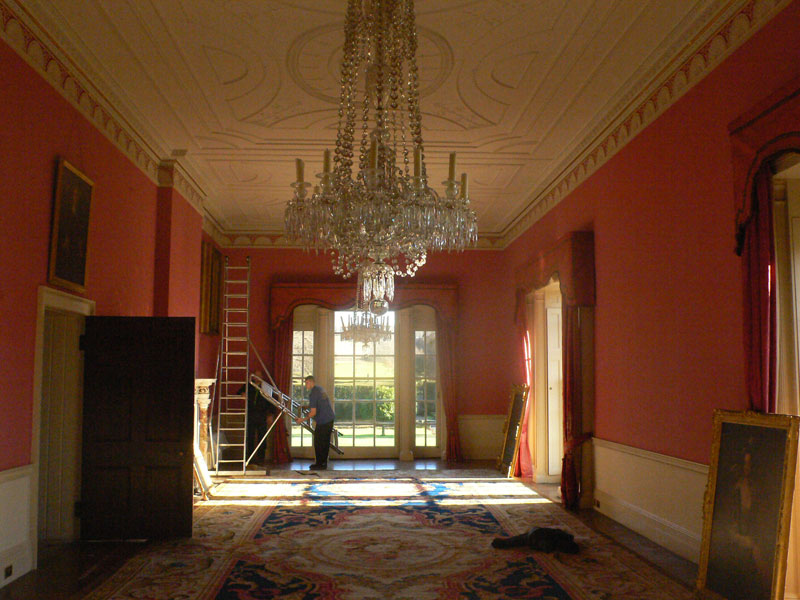
Fig 5. Completed drawing room